
Estate Planning Questions for the Visual Artist
We've created a free worksheet that encourages artists to consider their legacy ...
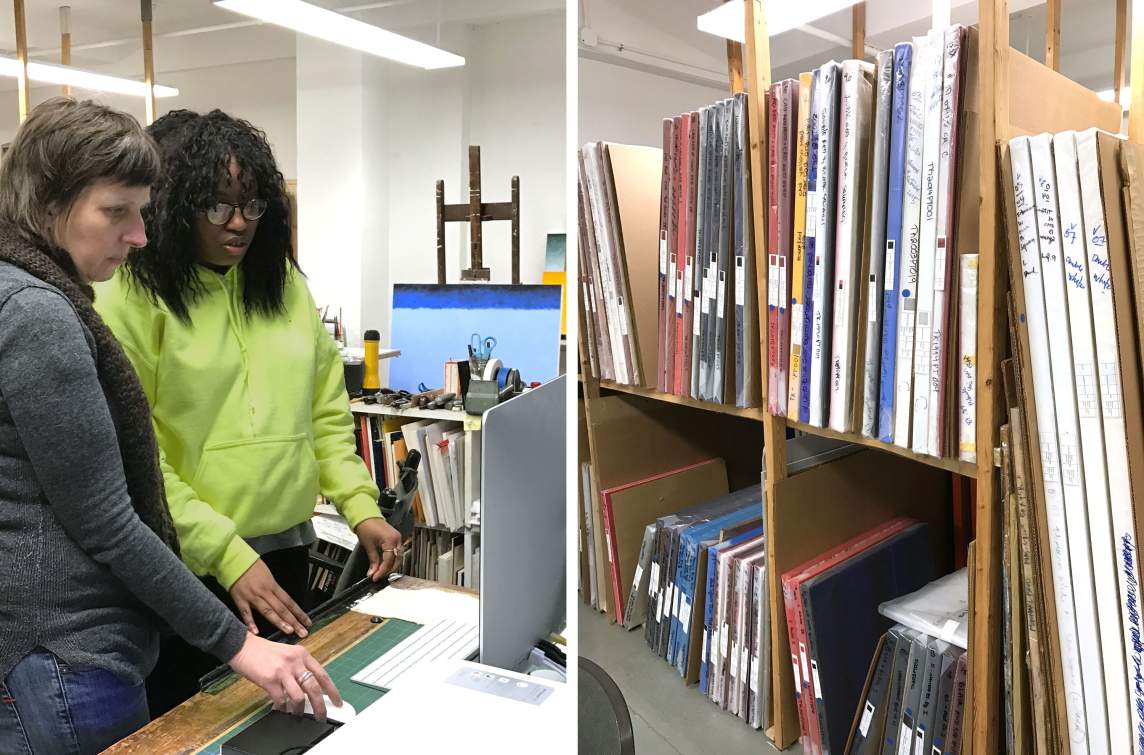
Starting an artwork inventory is a major step in the career documentation process for many artists. Once you have an inventory management system in place, you can then begin to outline inventory goals and establish a workflow to meet them.
In our free resource guide, Career Documentation for Visual Artists, archivist Virginia Allison-Reinhardt shares a range of considerations for artists in establishing their inventory systems and workflows, from choosing software to defining fields to track to outlining possible workflows. This rich and informative chapter includes Allison-Reinhardt's list of five key steps for establishing an inventory management workflow in your studio, excerpted here.
INVENTORY STEP 1
You may approach your artwork inventory records management process in several ways. It can be helpful to work backwards, starting with your most recent artworks.
INVENTORY STEP 2
Update the location for each artwork in your inventory management system as needed. Be sure to include works on loan/consignment and works that have sold in your inventory system. Your inventory can be a single source that reflects all artworks you have created regardless of their status. You can make placeholder records for works that don’t have images or are missing critical data such as title or location.
INVENTORY STEP 3
Once you have an inventory system in place, it will be important to establish a workflow and schedule for how and when to enter your data into the inventory system. Find ways to integrate data entry into your studio routines and cycles, such as when you create a new body of work, as you prepare for an exhibition, or around set times in a year (every three to six months).
INVENTORY STEP 4
Work from your record to your object, not your object to your record.
Create a record in your inventory management database first; that will provide you with an Inventory Number (Unique ID), then you can begin entering data into the system about the object/artwork. You can also retrieve relevant information from the inventory management database that you may want to affix to the object/artwork and/or its housing.
You can then create a label for your artwork and its package, if necessary, that includes the artwork’s Inventory Number (Unique ID). If you are filling out a brief condition report (for older works), ensure the report has the Inventory Number (Unique ID) as well.
Do not move on to new artworks until the group you are working with is stable, meaning the inventory record’s location and condition is updated and the artwork is appropriately labeled, packaged, and returned to its storage location.
Never allow an artwork to leave your studio if it is not linked to a record in your inventory management system with a proper label that includes your Inventory Number (Unique ID) affixed to the artwork. Always cross reference third-party inventory paperwork (shippers, storage facility) with your inventory management system when artworks are shipped out to ensure everything is correct.
INVENTORY STEP 5
If you do not already have photo documentation of your work, consider photo documenting it as you enter information about the artwork into your inventory management system.
Low-resolution images of your artwork may be uploaded to your inventory management system as part of your inventory workflow.
If high-quality images cannot be obtained, a snapshot will do and may serve as a placeholder.
If you are taking the images yourself, ensure you transfer images off your camera to your computer and back them up as soon as possible to avoid data loss.
In implementing these steps, Allison-Reinhardt writes, “You may find it helpful to return to the activity sheets completed in the previous chapters on Goal Setting and Work Planning to support your long- and short-term goals, clarify your intentions, and prioritize your tasks for building and maintaining a comprehensive and sustainable inventory system for your studio.” The inventory steps noted above could be considered long-term goals, with supporting short-term goals detailed as a pathway to achieve the big-picture goals. Download the goal-setting worksheets, along with the full Career Documentation resource guide, using the links below.